Cowl Inspection and Cleaning
How about a little history on the long-term effects of cost-cutting at the factory?
The cowl assembly on these old Mustangs is a known trouble spot. Ford didn't do much in the way of corrosion protection, nor did they design the cowl to allow easy access for cleaning after the car left the factory.

Over time, the cowl would fill up with leaves, pine needles, and other debris while the car sat parked outside under trees. In many cases, mice would build nests in the cowl of cars waiting to be restored "some day". Rain water would get in there, quietly and invisibly soaking the stuff in the cowl, and eventually cause the cowl metal to rot away. The rotted cowl now allows the same water to get into the car and start rotting away the floors.
Instead of a well primed, sealed and painted cowl from day one, you get to replace floors and other metal decades later. Or not, depending on how lucky you are with your particular car.
My car needed a small patch on the passenger side toe-board. I was worried this meant my cowl was rotted out and would need to be replaced. The cowl is a two-piece affair, top and bottom, held together by a gazillion (~200) spot welds and locates the base of the windshield, the export brace, and centers the rear of the fenders. It's visible and it's structural, so it's pretty important to make sure it's in good shape.
First thing I did was determine how bad my particular nightmare was. Once the fenders were off the car I used compressed air to blow out the cowl and fished around with a hanger to pull big bits of junk out though the drain holes on the ends of the cowl.


The cowl assembly on these old Mustangs is a known trouble spot. Ford didn't do much in the way of corrosion protection, nor did they design the cowl to allow easy access for cleaning after the car left the factory.

Cowl at far left - the thing with vents in it.
Over time, the cowl would fill up with leaves, pine needles, and other debris while the car sat parked outside under trees. In many cases, mice would build nests in the cowl of cars waiting to be restored "some day". Rain water would get in there, quietly and invisibly soaking the stuff in the cowl, and eventually cause the cowl metal to rot away. The rotted cowl now allows the same water to get into the car and start rotting away the floors.
Instead of a well primed, sealed and painted cowl from day one, you get to replace floors and other metal decades later. Or not, depending on how lucky you are with your particular car.
My car needed a small patch on the passenger side toe-board. I was worried this meant my cowl was rotted out and would need to be replaced. The cowl is a two-piece affair, top and bottom, held together by a gazillion (~200) spot welds and locates the base of the windshield, the export brace, and centers the rear of the fenders. It's visible and it's structural, so it's pretty important to make sure it's in good shape.
First thing I did was determine how bad my particular nightmare was. Once the fenders were off the car I used compressed air to blow out the cowl and fished around with a hanger to pull big bits of junk out though the drain holes on the ends of the cowl.

Pile of crap blown out of the passengers side cowl drain.

Drivers' side cowl junk blown out.
Once the dry stuff is out, the next step is to run water through the cowl vents on top and look for water coming inside the car. Passing means no water comes in the car at all. Failing means any water is visible in the car. That means the lower cowl is rotted and new metal is needed. There's several quick-'n-dirty fixes I've seen online, but the best and most effective way to treat this is new metal.

Looking for water under the dash at the Driver's side air vent (that hole at top is the fresh air intake from the cowl.)

The passenger side cowl vent feeds the heater or the A/C box. Typically the vents are what rot away first due to wet debris in the cowl box.
I had no water intrusion when I hosed out the cowl. Finally, a win.
But I couldn't just leave it alone. I had no idea if the cowl is pristine or rotting away and and will leak the next time it rains. I had to at least open the ends and inspect the condition of the 'hats' inside the cowl. Once inside, I assessed the condition of the metal (still strong) and then cleaned, sealed, and painted the cowl ends to ensure I get another 50 years of service out if the cowl.

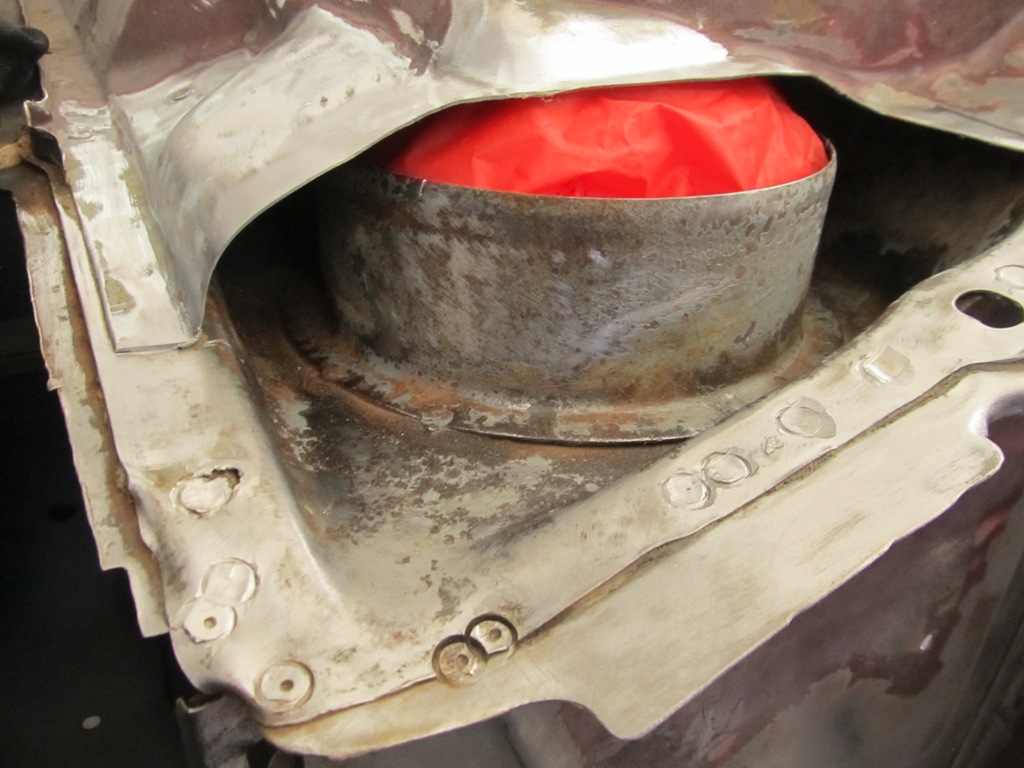
This is where I started - the passenger side cowl end.

The cowl/apron brace had already been removed, so I just had to strip the paint and seam sealer away. I used a cutting wheel to cut the cowl end open, but I left the back connected to make a 'sardine can' lid I could easily re-weld later. This turned out to be harder than I thought.

Open the lid and behold! Good metal!

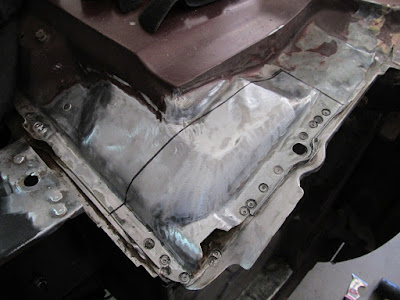
Wire-wheeled and painted with rust reformer. Edges are taped so paint won't contaminate the welds later.

Seam sealer applied after the paint dries. Don't make a dam out of the seam sealer - leave a good clear path for water to get through once this is all done.

Painted over the seam sealer and rust converter with a quality rattle can paint. I decided against epoxy because this was easier to get in and around. Not shown is the seam sealer and paint applied on the other side of the cowl hat from inside the car on my back. There are no pics of that work since I can't actually see what I'm doing. I'm sure it came out great, though...

I welded this up as best I could, but there are a few things working against me here. First, the cutting wheel made cuts that were too wide, leaving a large gap to fill with weld. I used a backing strip to close the gap. This added a lot of time and trouble to the job. The other issue is that the cowl top is galvanized steel, which needs to be stripped off as much as possible before welding as the galvanic coating will turn into toxic fumes when it burns. So welding is done with a respirator, which is harder (for me anyway). Seriously, non-optional - don't die, just wear a respirator.

My new cowl/apron brace that came with my new frame rail assembly is all prepped and ready for installation. I just left the e-coat on it for now.

Cowl/Apron brace welded on per factory W&S manual. This side is pretty much done; I'm not going to worry about cleaning up that last weld line - its not worth the risk of making new holes, so epoxy an seam sealer will protect it later.

Drivers side, much like the first, with lessons-learned. Drill off the cowl/apron brace...

Notice the rust under here. Nothing from the factory was used to protect this metal.
Stripped and marked my cuts. This time, I was going to cut the whole piece off, not do the sardine-can cut. And I had a new tool for just such a job:

The Communist Freight Air Saw. For the cost of an Andrew Jackson, I had a way to make smaller, cleaner cuts than the cutting wheel I used on the other side.

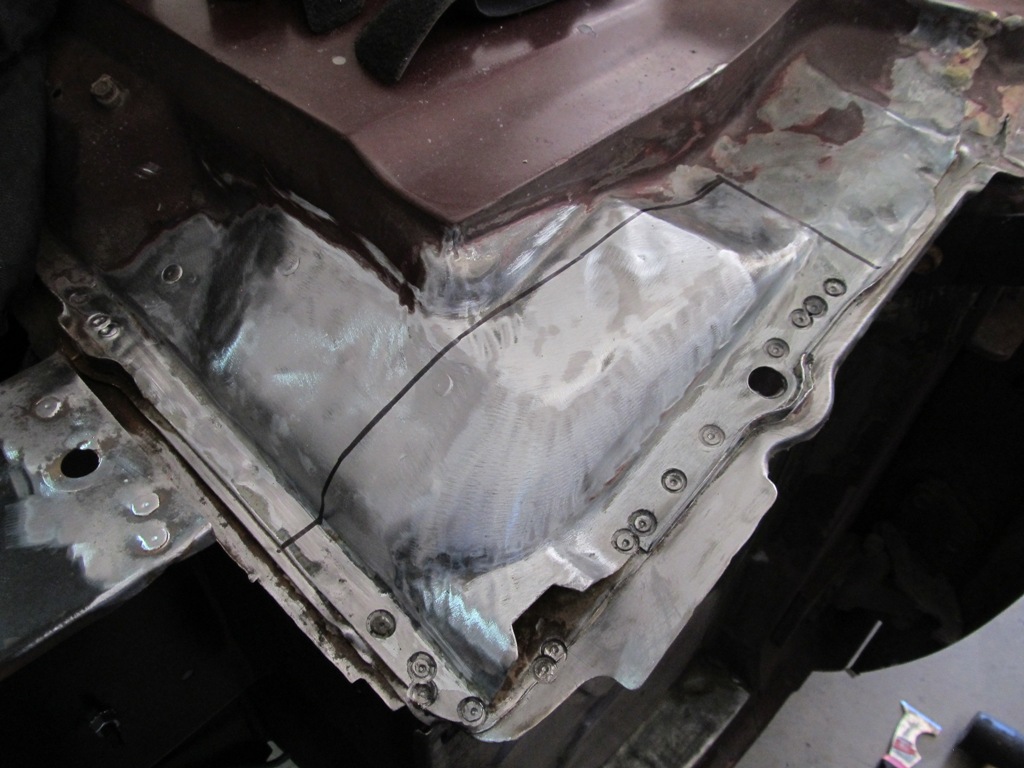
Nice comparison shot of the two types of cutting. The gap on the right is the cutting wheel making a slot for the air saw, which is the rest of the cut. See how much cleaner and smaller that air saw cut is?

Blamo - cowl end cut off. The lower cowl metal passes the rot-test (stab it with a punch and see if it goes through), so it gets cleaned, sealed, and painted like the other side.
"Cleaned" is sort of a relative term here. But it's better.

Rust converter paint all around. Again, the inside is perfect, but I can't see it to prove it. ;)

Seam sealer applied. Same brand (NAPA), just white this time. Remember, clear water egress is vital!

Painted with a rattle-bomb. Should last till 2067.

This side was much easier to weld up since I could place the cap back on the cowl and close up the gap as tight as I wanted to, butt-weld the top, and redo the spot welds on the edges. For future reference, this is the way to do it.

Old cowl/apron brace was blasted, painted, and hammered back into shape for installation. Weld-though primer was used on the top of the rear apron for rust protection.

Welded on, cleaned up and ready for service. I'll get some epoxy primer on and around all this next time I mix some up.
I got lucky - my cowl was in remarkably good shape. For a lot of folks, the cowl is a bucket of spiders - no fun to open up and tough to deal with once it's open. There's still seam sealing and priming, but now I'm ready to move onto the next little job.
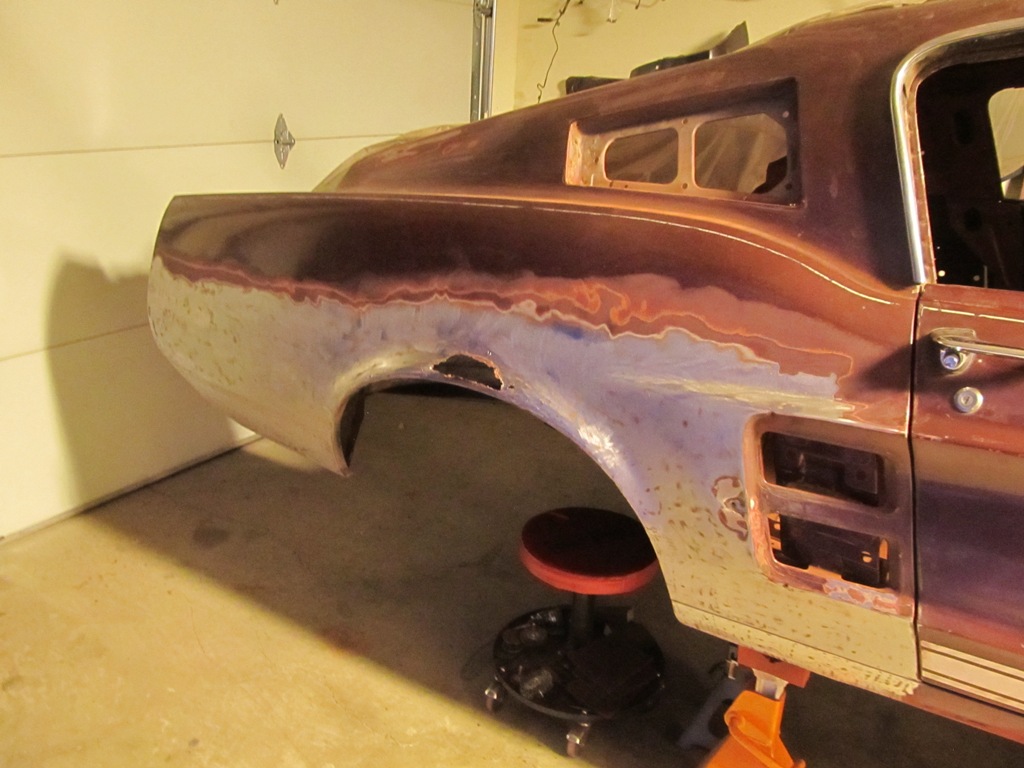
The next little job - the rusty quarter panel.
Comments
Post a Comment
Moderated and checked, albeit infrequently. Humans with real questions get answers, bots with spam get derezzed.