Radiator support removal and replacement
On to the radiator support...
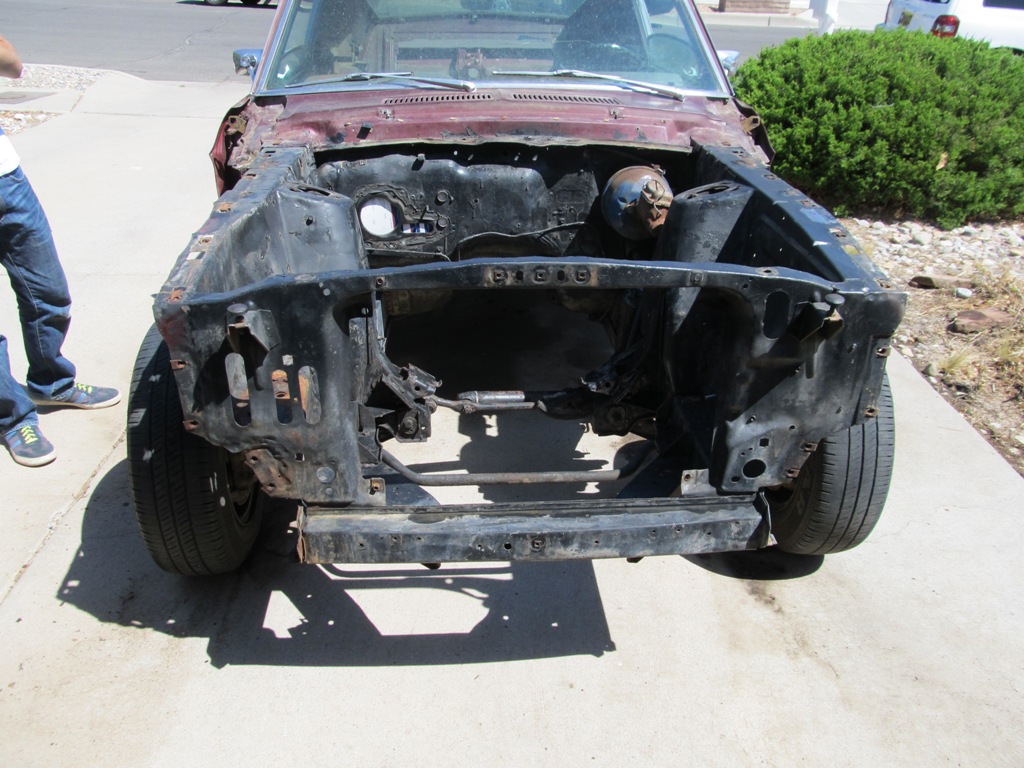
The radiator support, or "rad support" for short, is the forward-most piece of the Mustang chassis. It's purpose is to hold the radiator and provide something for the hood to rest on, as well as box in the front engine bay. It's connected to the front of the forward aprons on both sides and the front crossmember at the bottom. Good reproductions are out there, and are available attached to a new crossmember as well - which is the piece I purchased for my car.
About 80 spot welds and a dozen or so bead welds are holding this assembly in place. It took me about 25 hours to remove, prep, patch, install, test-fit, and weld in the new assembly over the course of about a week. Overall, I would call this 'much easier' to do than the frame rail assembly.
First, let's look at what we're starting with - way back before any metal work had happened...
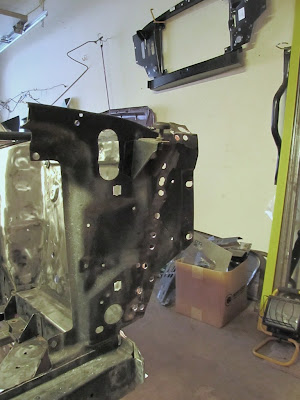
The radiator support and crossmember are bent, rusted, crinkled, and in generally poor shape.

The backside view shows more of the issues. While some wrinkling can be taken care of with judicious use of hammer and dolly, there were so many issues here that I figured it would be easier to replace it. Also, I should mention, this was supposed to be my first 'real' on-car welding since I didn't have any other issues. Of course, I then proceeded to discover no less than five other sites that would need welding as well. I was so optimistic back then...

Look closely and you'll see the crack in the rad support/crossmember interface here. Likely due to collision damage and subsequent frame straightening.

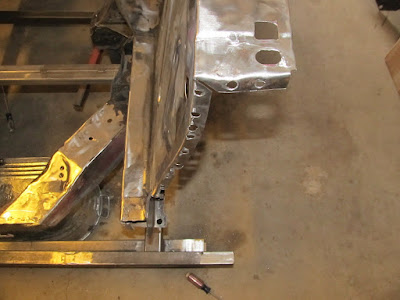
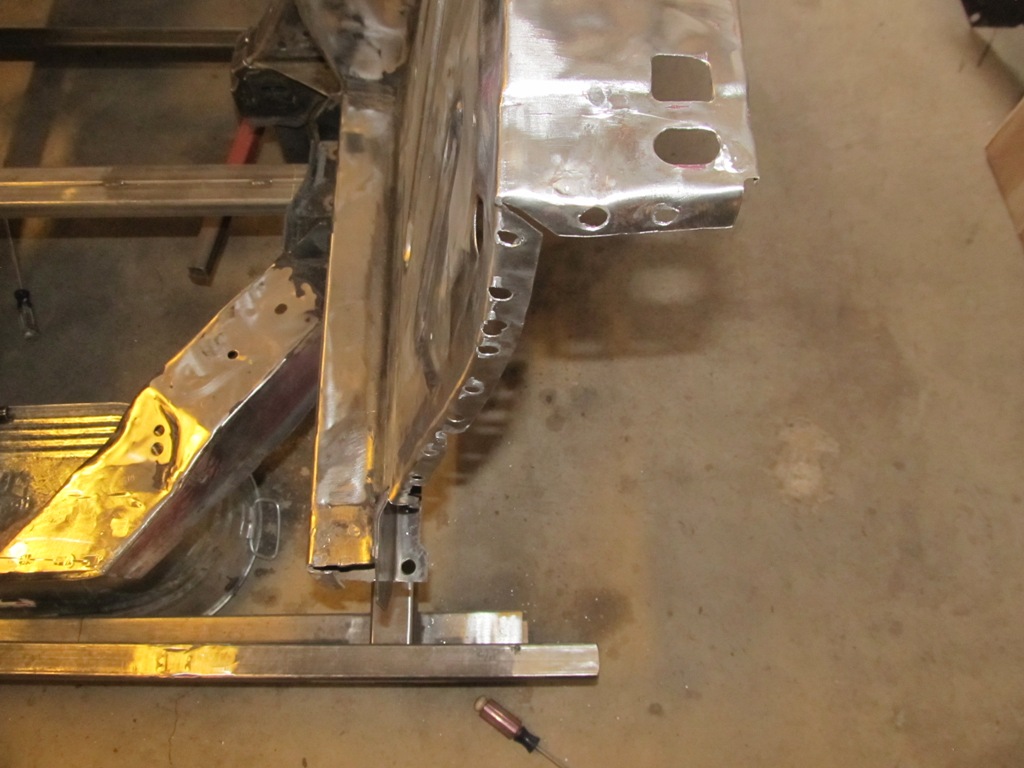
So this is where we left off - the new shock tower/frame rail assembly welded in place. I had to cut out chunks of the rad support to get the new assembly in place, so now it's time to cut the rest out and get the new one in.

Here's all the spot welds drilled out at the drivers side front apron interface. I drilled them all the way through so I won't have to drill a bunch of holes in the new piece - I'll just weld the new part on from the backside. Should be easier and a make for a cleaner finished product. New rad support on the wall, just looking for a new home!

Next up, removal of the rest of the crossmember. No need for finesse here, just hack out the big pieces with a whiz wheel...

...and clean up the mating pieces by locating and drilling out the spot welds holding it all together...

...so that there's a nice, clean surface to weld the new assembly to. Easy as cake.

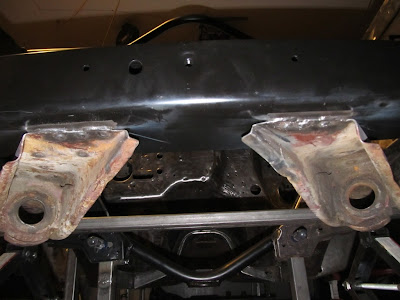
Repeat this process for the crossmember remnants on the strut rod mounts. Please notice that the passenger side strut mount will not actually ever leave the car, but will always be attached by at least one end at all times. To me, this is cool.
Clean, shiny metal, ready for welding.

The new forward apron needs all those new holes drilled for plug welding. I'll say it again - get a factory weld and sealant manual for guidance here. It's just easier. Otherwise, one may tend to 'over-weld' everything and put 20 welds on where the factory only used 11.

Oh, yeah, baby! New metal! Note the optional integrated crossmember here. Same as the other pieces, drill in preparation for plug welding at the frame rail interfaces. The apron interfaces are stripped of e-coating once I test fit everything and mark the adjacent hole locations on this part.

For comparison, here's the old part.

Oh yeah, there's a dozen welds on the inside as well...

...plus a few underneath. If you haven't practiced inverted plug welds yet, now's a good time.

I noticed a rusted and cracked divot on one of the strut rod mounts. It's just easier to cut it out and replace it than it would be to bang it back into shape.

Newly fabricated patch is welded in place...

And the welds are cleaned up to it looks like it's supposed to be there. No one will ever know this was done, but I get a kick out of this sort of thing.

Test fitting is done by clamping and screwing the pieces together, then placing the hood and fenders to make sure the parts line up. I takes an hour or so, but now's the time to find out if it's in it's proper place or not.

Here's the backside plug welding on the drivers side apron.

Strut rod supports are welded in with a combination of plug and bead welds

More of the same welds on the top as well. All per the factory manual.

Some Seams are Strategically Stitched , Strictly Speaking. This one is an inside corner. I would add this one even if it wasn't in the manual. A little extra strength up here is a good thing.

And there it is, all burned in and ready for another half-century of supporting radiators.
Next up - adding a torque box where God intended, but Ford was too cheap to listen.
Comments
Post a Comment
Moderated and checked, albeit infrequently. Humans with real questions get answers, bots with spam get derezzed.