Under the Dashboard and Dreaming
Sorry for the delay. Life keeps happening - you know how it is. The Mustang has been getting some of my time and frustration, and I have some updates, so let's get back to it.
Way back last year sometime I primed the interior of the car after all the metalwork and de-gross-ing the floor pan. Well, almost the entire interior.

I stopped at the toe board and firewall for two reasons: first, because I knew I had all that metal work to do on the frame rail, and secondly, because it's a colossal pain in the posterior to get up under the dashboard and clean and strip the endless nooks and crannies. Well, now that the frame work is done, I can finish this part of the interior.
yaaay....

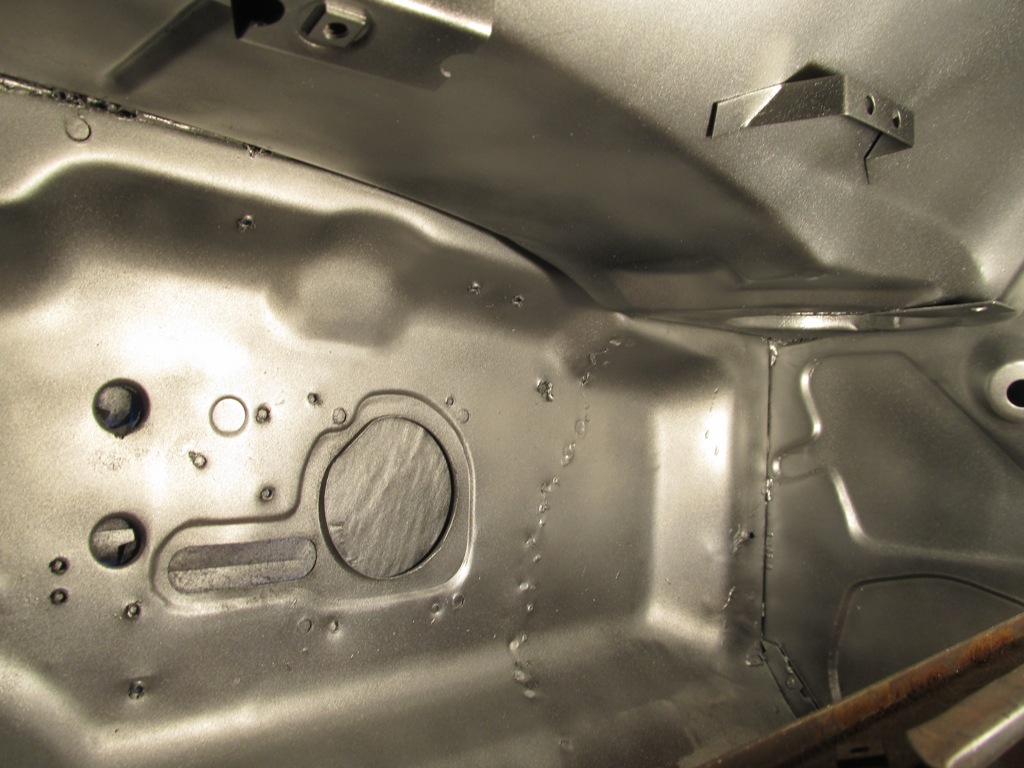
Here's where we start. The floor is primed with SPI's Red Epoxy, but where the floor bends up to the firewall, it's still mostly original.You can see the patch I welded in the toeboard and the access ports I cut and welded shut on the passenger side floor well. All this will need to be sanded and primed eventually, but first the dash and firewall need to be addressed.
It looks like when these cars were first built. the interior was hit with primer and paint, but the under-dash area either only got a little overspray or was left bare metal. No surprise then that the entire area up there is covered in surface rust. I can't just leave it like that, so I'm going to strip and paint the under-dash so it'll be protected for years to come, Is this concours-correct? No, but it's my car so I get to do what I want.


Way back last year sometime I primed the interior of the car after all the metalwork and de-gross-ing the floor pan. Well, almost the entire interior.

I stopped at the toe board and firewall for two reasons: first, because I knew I had all that metal work to do on the frame rail, and secondly, because it's a colossal pain in the posterior to get up under the dashboard and clean and strip the endless nooks and crannies. Well, now that the frame work is done, I can finish this part of the interior.
yaaay....

Here's where we start. The floor is primed with SPI's Red Epoxy, but where the floor bends up to the firewall, it's still mostly original.You can see the patch I welded in the toeboard and the access ports I cut and welded shut on the passenger side floor well. All this will need to be sanded and primed eventually, but first the dash and firewall need to be addressed.
It looks like when these cars were first built. the interior was hit with primer and paint, but the under-dash area either only got a little overspray or was left bare metal. No surprise then that the entire area up there is covered in surface rust. I can't just leave it like that, so I'm going to strip and paint the under-dash so it'll be protected for years to come, Is this concours-correct? No, but it's my car so I get to do what I want.

Lower cowl panel, passenger side. No rot, no leaks, unlike so many other Mustangs of this vintage, but still...

Lower cowl, drivers side. same thing - no rot or leaks, but looks rough.

The middle of the lower cowl section where it meets the firewall.

And there it is. Another unpleasant task I can't talk myself out of.

The coatings of choice are two new items to me. No one will ever see this area, so I figured this is a good place to test new things. I'm not going to total bare metal, and I don't want black, so I'm not using the epoxy primer for this job.
The silver can is high-heat grill paint, for the firewall and lower cowl and side panels. I'm using this to simulate the bare metal that might be expected there, and to provide a nice bright reflective area to work in when it's time to put wiring and dash assemblies in there. It's also going to be able to handle the heat that firewalls heat.
The second one is Rust Reformer in black. I'm not actually going to strip the backside of the dashboard, just scuff and clean, so the Rust Reformer should do a good job and converting whatever rust is left and slow any future corrosion.
Everything gets scuffed with red Scotchbrite pads, and 80 grit discs on the die grinder to get all the surfaces to a 'good-enough' state for cleaning with wax & grease remover, and then hit with two easy coats of paint. This took a full day and a half tucked under the dash.


Note to future users - the silver paint also filled the car with a glitter-like dusting that gets all over teh place. It looks fairly metal-like, but messy.

Taping up the dashboard in prep for painting the backside of the dash.

Lots of surface rust back there. I know I don't have to do this, but also know I kinda have to do this.

Much better. The Rustoleum Rust Reformer is a nice satin black. I have no illusions that this stuff is magical rust remover, but I was curious how it would work, and this seemed like the place to try.

Looking down the other side of the backside of the dash.

Done. The firewall and dash area are properly covered, and now just need seam sealing, which I'm saving to do at the same I seal up the toeboard area. The outside of the dash will get fixed up later.
Nice to finally put this one behind me.
Comments
Post a Comment
Moderated and checked, albeit infrequently. Humans with real questions get answers, bots with spam get derezzed.