How to skin a Fastback: Fitting and Welding the New Passenger Side Quarter Panel
This one has been a long time coming. I'm finally putting the new quarter panel skin on the passenger side. After looking at the rusty hole in the old panel for about 5 years, and figuring out how I could or should replace it for over a year, I'm finally going to put this thing on.
I'm not going to pretend this was easy. It took about 65 hours of work just to get to this point in the pic below, and there is still a huge hole in the car.

I've replaced the outer wheelhouse and trunk drop off panel, patched the inner wheelhouse, cleaned up edges and primed and seam sealed the inner structure.

Notice that the opening is not a straight line down the quarter panel. There's a reason or two for that. The new skin has been test fit on the car dozens of times, looking for where things line up and where they don't.
The resulting cut line you see is the compromise of contour matching the coupe panel to the fastback car, while getting the weld line as high up as possible, allowing clearance for working on the outer wheelhouse and trying to keep the seam out of sight from the trunk.
Ideally, you'd just have the new panel weld onto the car right at the top body line. This would help hide the weld from inside as well as take advantage of the inherent strength of the hard angle at the top to help reinforce the metal so it won't warp or bow in due to the welding.
But remember, I'm using a coupe quarter panel on a fastback, so the upper edge is nowhere near correct. More than that, the upper edge on the car extends up higher than the coupe panel, so I have to leave enough old material on the car to get the pieces to meet while making sure there aren't any changes in the contours of the new skin relative to the old quarter that remains.
As it happens, the fastback contour at the top of the B-pillar (where the door latches to the car) is different than the coupe, so the cut has to be lower to get the skin seam to line up on the car. Even then there is a little bit of pressure I will have to apply to get it to line up. In a perfect world, the skin would just lay on the old metal and line up with no help or extra force applied. Alas, we live - and weld - in an imperfect world.
And that's just the top seam. I haven't even decided yet if I'm doing a butt-weld or a flange weld. And we still have to line up the door, the taillight panel, and the wheelhouse.

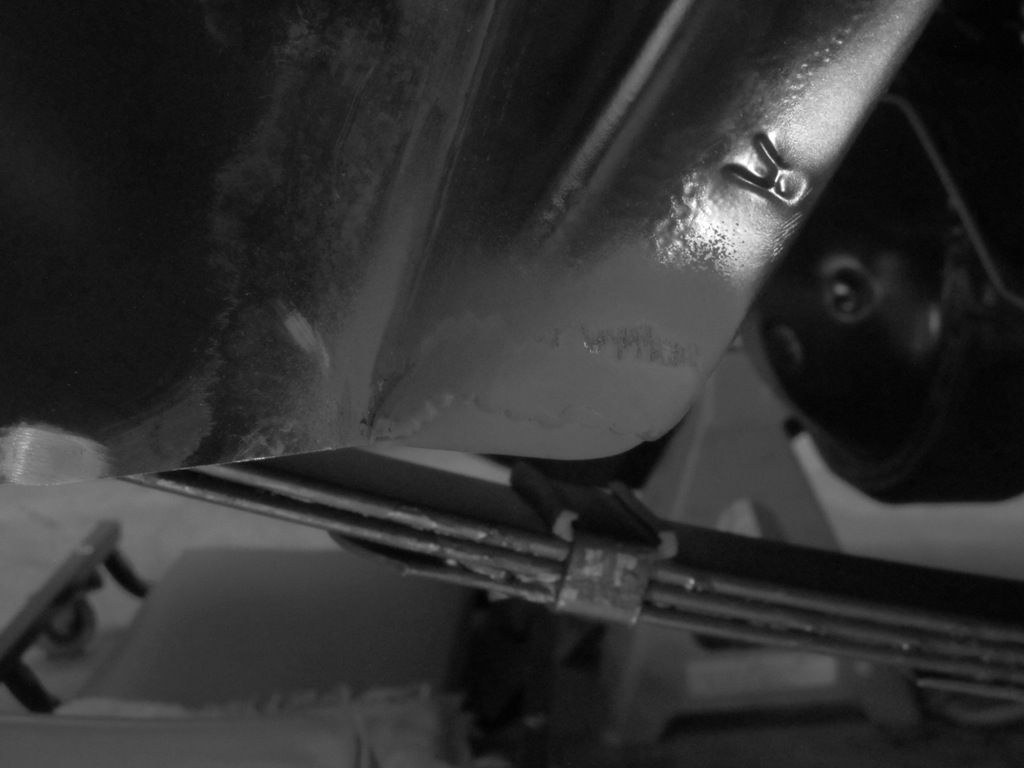
Here's all the old metal cut off the car for the quarter repairs. Remember, the only rust showing was a hole the size of a quarter.
First things first: shall I flange- or butt-weld the top seam of the new skin onto the car? I'll resist a long lecture on "ideal" versus "realistic" repairs. I did a butt-weld on one of the fender patches a while back, and it gave me an appreciation for how hard that is to get right. I did another butt-weld on the trunk drop-off panel to try and talk myself into doing a butt-weld on the top seam of the new quarter skin. I was never happy with the results given the amount of prep work and blowing holes in new metal gets to be demoralizing pretty quickly.
The interwebs and message forums are full of folks who say a butt-weld is the only way and anything else is a hack, adding insult to injury by saying it's really not that hard. Easy to say when it's not your project. The fact is the flange weld is an acceptable repair. True, it has risks of ghost lines coming through painted panels on hot days, and cannot be planished with hammer and dolly work to stretch the metal out after welding.
However, butt-welds can also show ghost lines, and the fit-up work is likely much harder, especially for a beginner such as myself. Fitting up a perfect gap of 0.023" over five feet of panel is simply not going to go well. I decided that the flange weld would give me a better chance of success and I'm hoping good body work will help finish the repair to be as good as new.
It's was a hard truth to accept that maybe I'm not a metal-shaping, custom-fabricating god, but it felt like quite a relief to finally decide on the flange weld for this job. In the end, if it's you doing the work, you need to honestly assess your capabilities and decide what you're willing to take on.

I used the old quarter panel metal to practice flanging on with my Communist Freight pneumatic flanger/hole punch. I learned that any flanging around an angle will need relief cuts to prevent panel warping. I recommend practicing on scrap before doing this on a real car.

Also, as I may want to adjust the door striker plate during test fitting, I needed to loosen the plate - but I did not have the right tool (again). Turns out the striker plate screws are special - "pozidrive" phillips bit #4. Not a regular #2 or #3 phillips bit. Some folks swear by an impact driver as well, but I found the pozidrive #4 on a breaker bar and some penetrant to do the trick just fine.

A comparison of the pozidrive #4 with a regular #2 and #3 phillips bit. As usual, it's worth the $5 to get the right tool here.

Fitting the quarter skin to the car at the backend means also test fitting it with the rear extensions as well to see how the contours line up. While the contours are good, the edges - front and rear - of the new panel are not as sharp as the old ones.

Also noted during fit testing that the new outer wheelhouse rear edge was interfering with the quarter panel, pushing it out a bit. I cut off the offending part and rewelded it up a little higher to give clearance to the quarter panel. Remember, we don't want to 'force' the new skin onto the old car.
Patch welded in and primed, never to be seen again.

Now to flange the old quarter panel - note that there is a relief cut at the end of the flange area. I cut that first, then flanged down the metal.
Before flanging, I took time to really make sure the cut on the car was as level and straight as I could make it, since the throat of the flanging tool rests on that bottom edge when the flange is formed. If the cut line was all wavy, the flange would be too, complicating the fitting of the new quarter panel skin. It's always something.

Same relief cut on the front edge. Same careful leveling of the cut line before flanging. Also note the little notch I cut where the angle of the flange changes the prevent warping the metal on the car due to flanging. It's measured out to come to a point at the same height as the flanging tool's throat. I'll use a copper spoon behind the point to make sure I don't blow a hole in the metal.

Here's the notch cut at the other angle change. If you can do a skin where the seam is perfectly straight, you can skip this step. I, for one, wanted to make it complicated. Again.

Sideways pic of the quarter panel lining up on the B-pillar. Pay careful attention to the body lines, especially on a '67 where there is a lot of contour and detail where the door meets the quarter panel.

Test fitting the rear valence to see how it lines up with the new quarter. It's an OEM valence, and I'm pretty happy with the fit to the reproduction metal.

Per the Weld & Sealant manual, I punched holes in the perimeter of the quarter panel wheel lip to line up with the lip on the new outer wheelhouse. I kind of screwed up here, though, because the wheelhouse lip has some notches in it so you can't put a plug weld there. I didn't account for that and as a result had a couple holes in the quarter lip that had to be filled because there was no metal to weld them to. Live and learn, right?

Look closely and you'll notice there is a little bit of black new metal poking up over the tape line that represents where the top of the skin should be. Again, a lot of time to make the cut straight on the new metal to line up with the very straight flange on the car. If it's off, the gap between the flange and the new skin will be irregular over the (five feet!) length of the joint. This would result in some welds being larger (thus more heat into the panel) and increasing risks of warping the work. Bad!

Once I was finally happy with the fit, I screwed the skin to the car all around in what I hoped was the final positioning. And then I threw up. My Apprentice put a second set of eyes on this as we screwed it in and assured me it was going to be fine.

OK, maybe kidding about the throwing up. Really just a lot of dry heaves. Here, you can see see the contours where new metal meets old. More screws at the front were needed to get a good tight fit. I suspect this is due to a coupe and a fastback being ever so slightly different shapes at this spot.

I used about half a dozen screws hold the lower flange to the rocker panel. I suspect this junction is why it's hard to get a good fit-up at the body lines on the doors. Lining this up was a two-person job - one to hold and apply pressure, the other to screw in (thanks, beautiful!). This lower flange on the new quarter had to be notched at both ends to fit properly into the space where it met the B-pillar and outer wheelhouse. Did I mention I had this piece on and of the car dozens of times before this?

Tack welds, evenly spaced and widely spread out to keep heat build-up to a minimum. For all welds on this seam I let them cool naturally - no air or wet rags. Here, I did a dozen or so welds and took a break for them to cool before doing any more tacks.

Let's see, each tack weld is about 1/8", and the seam is about 60 inches long, so....yeah, about 500 tack welds. This pic is after about the third pass.

After a pass on the top seam, I'd weld one plug on the rocker seam...

And then do one on the rear flange as well.

Go slow, keep the welds short and hot, and don't get 'go-fever'. Notice there doesn't seem to be a lot of warpage.

Tack, cool, clean, inspect, repeat.

All the way down the panel. I saved the relief cuts at each end for last.

Only after I had most of the seam welded did I start on the plug welds for the wheel lip. Overhead welding suuuucks.

After the wheel lip was done, it was onto the trunk drop off edges.

Again, don't put too much heat in here. Do one, take a break to let it cool, and do the next one as far away from the previous weld as possible.

When the welding is done and ground down an cleaned up, the edges need to be trimmed to fit. The bottom lip is about 1.125" tall as measured from the top of the flange, per the other side. The end of the trunk drop off is ground to match the rear flange as well.

Where we started...

Last pass, and it looks pretty good.
Overall, it took about 24 hours of clock time to do just the welding over a period of three weekends. As of now, there are about 130 hours into the quarter panel job since the first cut. Yes, that's slow, and yes, it could be done faster. But not by me.
I still have welds to clean up, and the seam did bow in a little at the section that is farthest from the upper body line, up by the door, but there will be some body filler applied over the entire seam, so that's OK.
The body lines on the new panel are not as sharp, but not everyone will notice that. The vertical alignment of door to quarter body lines is close, where before the repair it was off about 1 mm, now it's about 2 mm, so hopefully I can adjust it to match. I'm just over the moon that I now have good, new, solid metal where there used to be acres of rot and rust. I'm happy with my choice of flange welding.
Next time, would I do this again? I dunno, given how localized the rust was to all the lower edges and seams, I'm still glad I didn't do a full quarter panel, but I wish I was good enough to butt-weld several smaller patches rather than a giant swath of new metal. It ma have been a better choice to buy a fastback quarter panel and cut it to fit - this would have saved me a lot of time. In hindsight, saving the $200 may not have been worth the hassle.
However, it is nice to have this one (mostly) behind me.
Comments
Post a Comment
Moderated and checked, albeit infrequently. Humans with real questions get answers, bots with spam get derezzed.