Drivers side fender, part 2

Bad metal cut out. Now we're committed!

I ordered the lower fender patch from Rock Auto - the part is branded 'Goodmark' and was a pretty good match. I only needed to bottom half, so I made a cut and started fitting the piece to the fender.

Lining up the patch so I can trim to fit.

Good contour on the patch - matches the fender curve well.

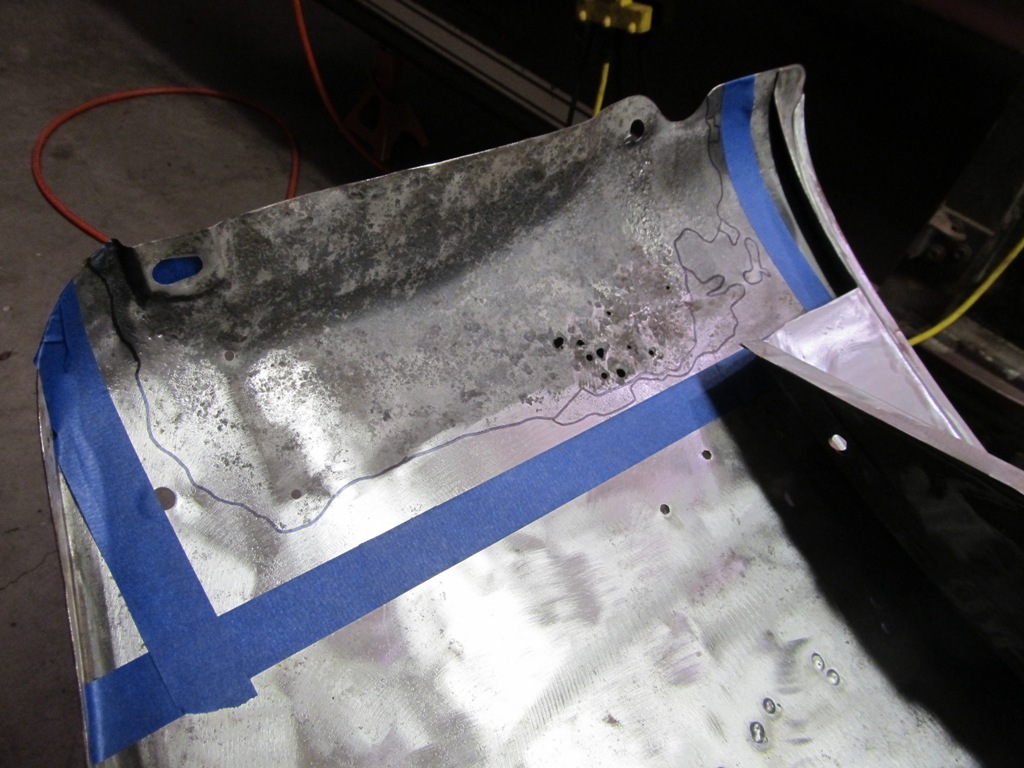
The holes for fender mounting bolts are not pre-drilled and it'll need careful trimming all around to fit the hole I've cut in the fender. The patch is close enough to work with, and it's the same metal gauge as the fender.

Here's the patch trimmed to fit and held in place with magnets. Important tip - the patch needs to be trimmed so that there is a very small, uniform gap between it and the fender. Too big a gap, and the weld won't be good. I try to get the gap tight, about the same width as the welding wire I'm using, 0.023 inches. I tacked it in at just a few points away from the magnets and then pulled them out to do the rest of the tacks.

First series of tacks. I'm planishing each tack as I go to reduce warping or shrinkage. No one wants to see shrinkage. I used this thread as a tutorial on how to weld in big patches of curved metal.

To weld in a patch like this, I'll weld the entire length of patch using individual tacks all the way around. A continuous bead weld would put too much heat into the metal and warp the metal or blow a hole in it. Add a few tacks, planish each one, and walk away for a while. Again, heat build up will warp this in no time, so it's best to do this in short bursts, just a few tacks in each round. Of course this means it'll take hours to compete, but it makes for a better fix.

Here's the finished patch. Nice, right? I still need to hammer the edges of the patch down to just below the surface of the fender so it'll take a skim coat of body filler. But I was pretty jazzed to get this to work as well as it did.

Priming the fender brace areas before welding it back together. The edges are bare to make welding easier. Primer will contaminate the weld puddle, so keep it clean!

Original brace piece welded back in.

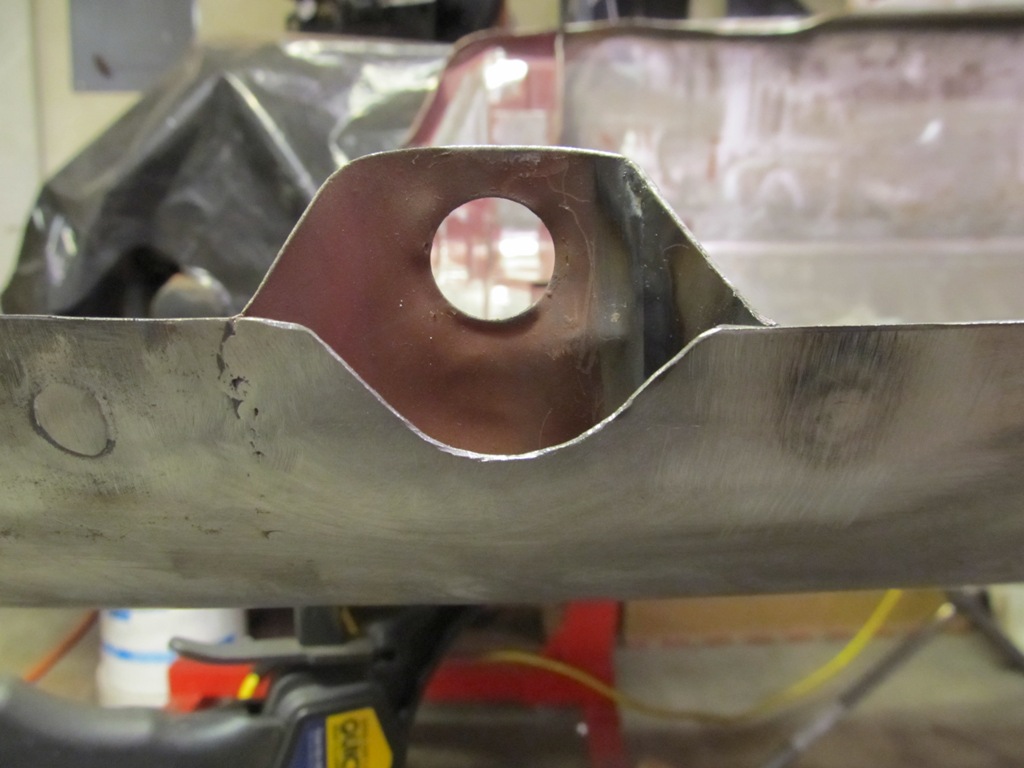
I need to fabricate a patch piece to join the fender brace to the fender. The replacement Goodmark piece I ordered was made of 14 gauge metal, not 19 gauge like the original stuff is made of. It was laughably too thick to weld in, so I threw it aside and made my own patch out of a few separate pieces. Maybe not pretty, but it works.

Patch panel didn't come with cutouts for fender bolts - so I have to cut them to match the original contours.
Blamo!

Backside view of all the patching. Still some weld cleanup to do, but it's looking better (and rust-free). While the seam may still be visible on the inside of the fender once finished, it won't be visible on the outside after body work.

Frontside view of the repairs. Looks pretty good to me.

Final DA sanding and wipe down with W&G remover. Shiny!

Two coats of SPI black epoxy. If you look real close you can see the dimples from the filled badge holes and the patch panel. That's on purpose. A better metalworker probably wouldn't leave it at this stage, but work the metal flatter and flatter until no filler was needed. I'm not there yet.


The fender is now ready for test fitting on the car as needed and ready for the body shop to do its work. I'm glad I did this as I now know the metal is good and there aren't any lingering rust spots that'll show up six months after it's painted. Again, over 50 hours of work in just this fender. At just over minimum wage, I could have bought a Ford OE fender for my time. But this was way more fun.
Comments
Post a Comment
Moderated and checked, albeit infrequently. Humans with real questions get answers, bots with spam get derezzed.